Creating a post apocalyptic tank station using garbage or cheap materials (Part 1 Assembly)
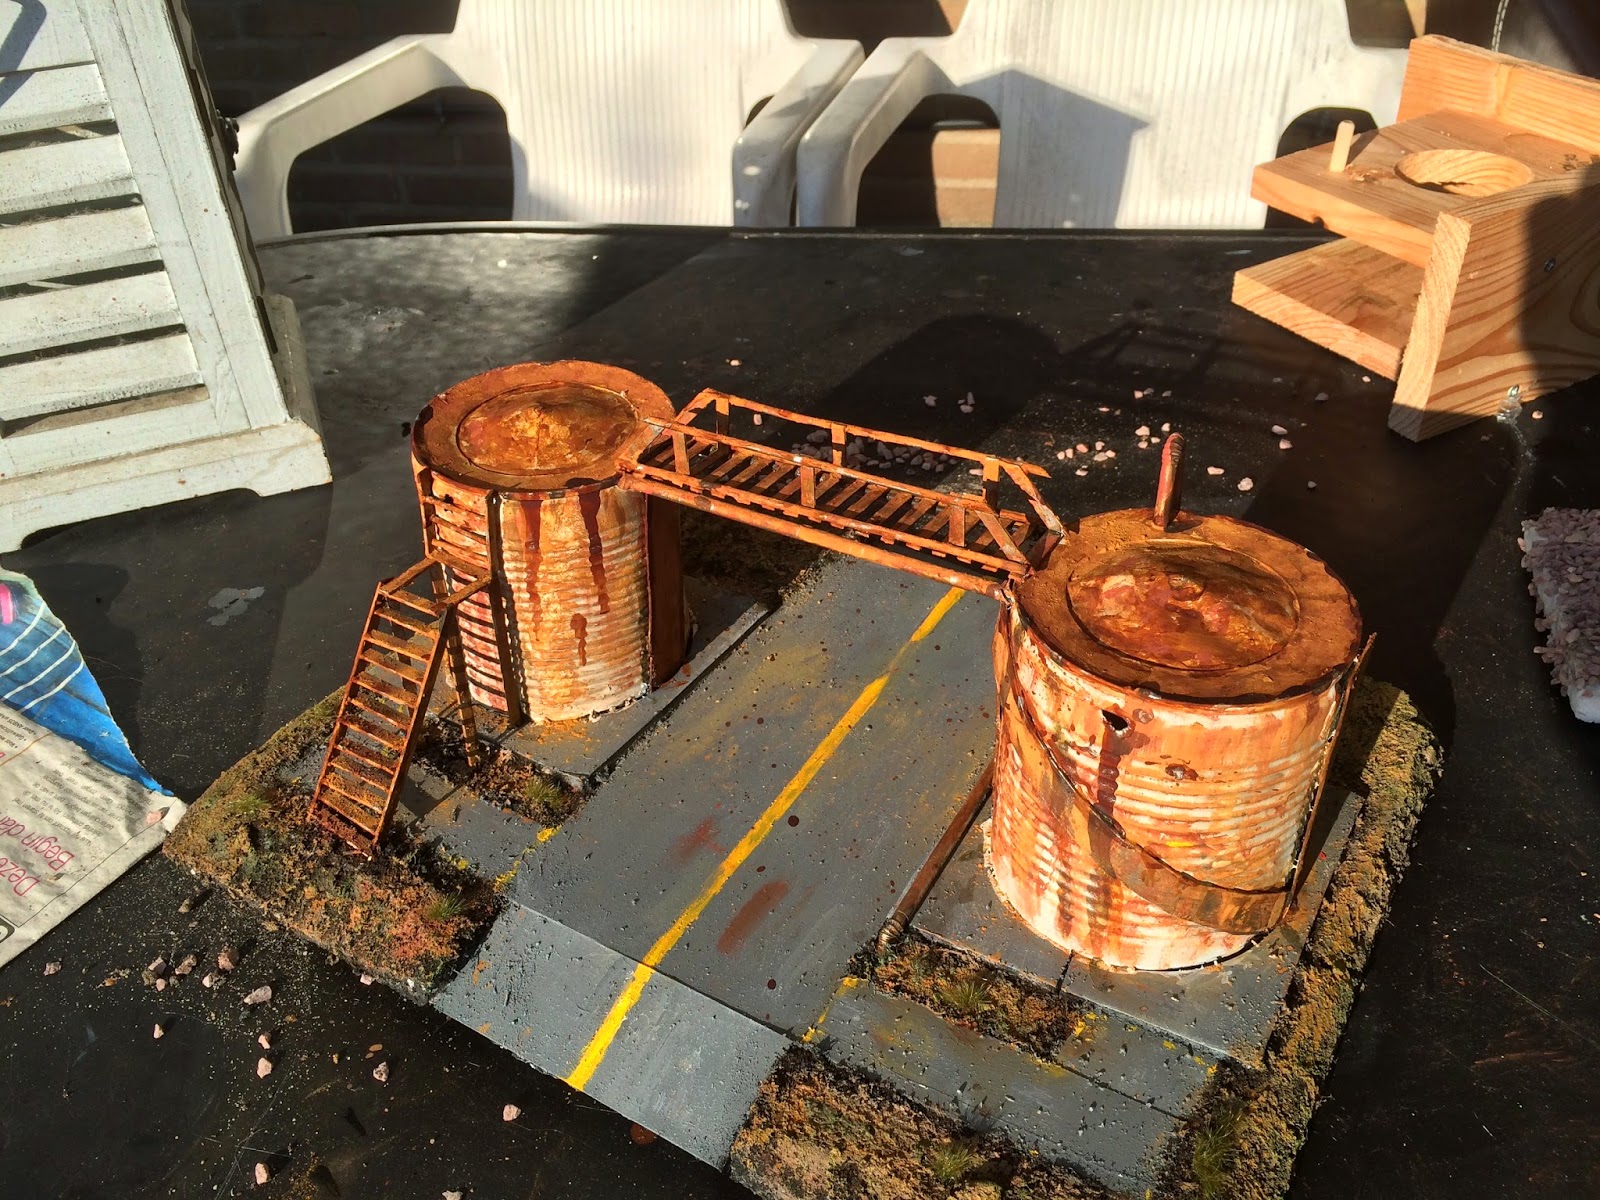
So in this post I will try to explain how I created a tank station like the one below:
First things first go and watch a few tank stations by looking at pictures on google. This wil give inspiration like there is no tomorrow.
I started out with a few cans of the same height and a piece of styrofoam.
After cutting out the styrofoam in the desired size and place the can’s in the position you prefer.

Press them gently down in the styrofoam so they leave a mark in it.
Cut out circles a tiny bit larger than the cans and cut a line in towards the center of the circle
then move the paper sides at the cut until you have a cone and they are the exact diameter of the cans.

Out of cardboard cut out a circle with the diameter of the cans and cut out a hole about a cm from the edge like below.

Cut out strips of cardboard about 2cm wide and as long as your cans. glue it all together like so.

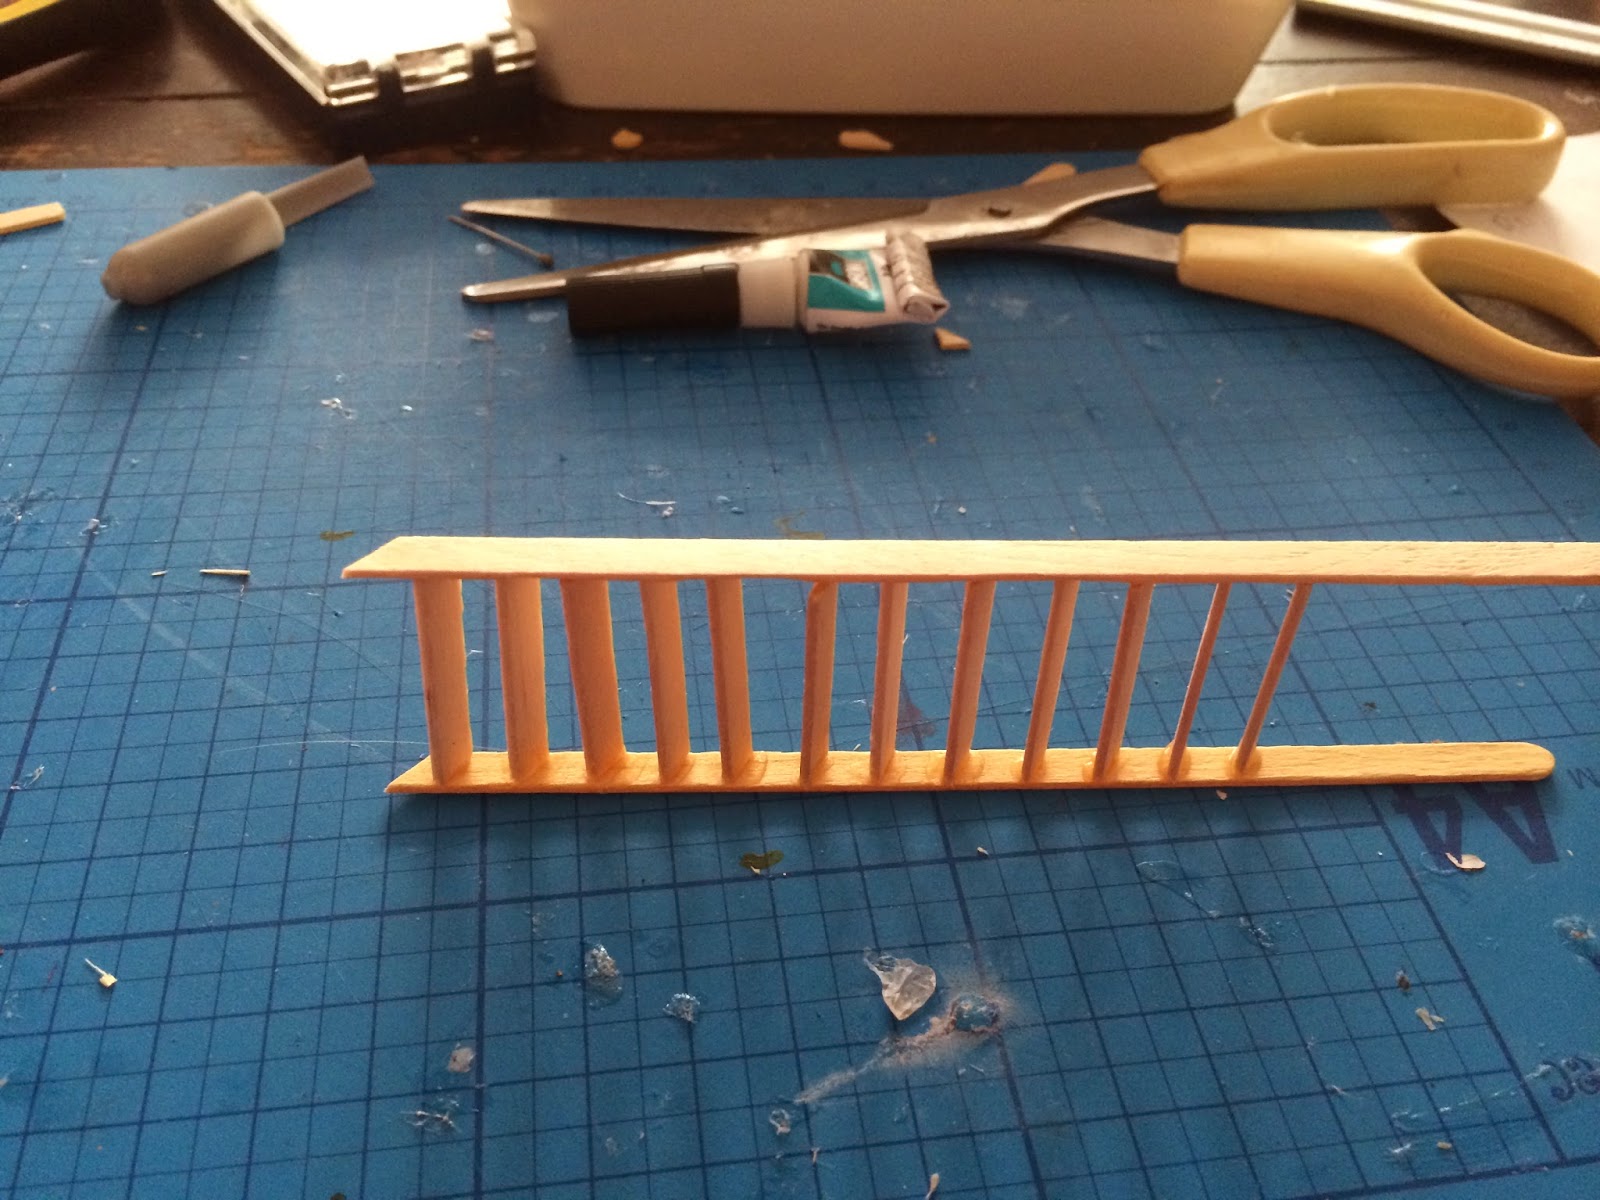
I already created a bridge from wooden coffee sticks and sticks like so:

Now create 4 diagonal strips using cardboard and glue them to the tank hull.
I then glued on the bridge and checked if the size was adequate for gaming by placing a tank under it

Yay its big enough!
Then using foam board I cut out a square larger than the tanks and cut out a circle so that it would fit over the cans and cut them in halves so I could properly glue them on the styrofoam base.

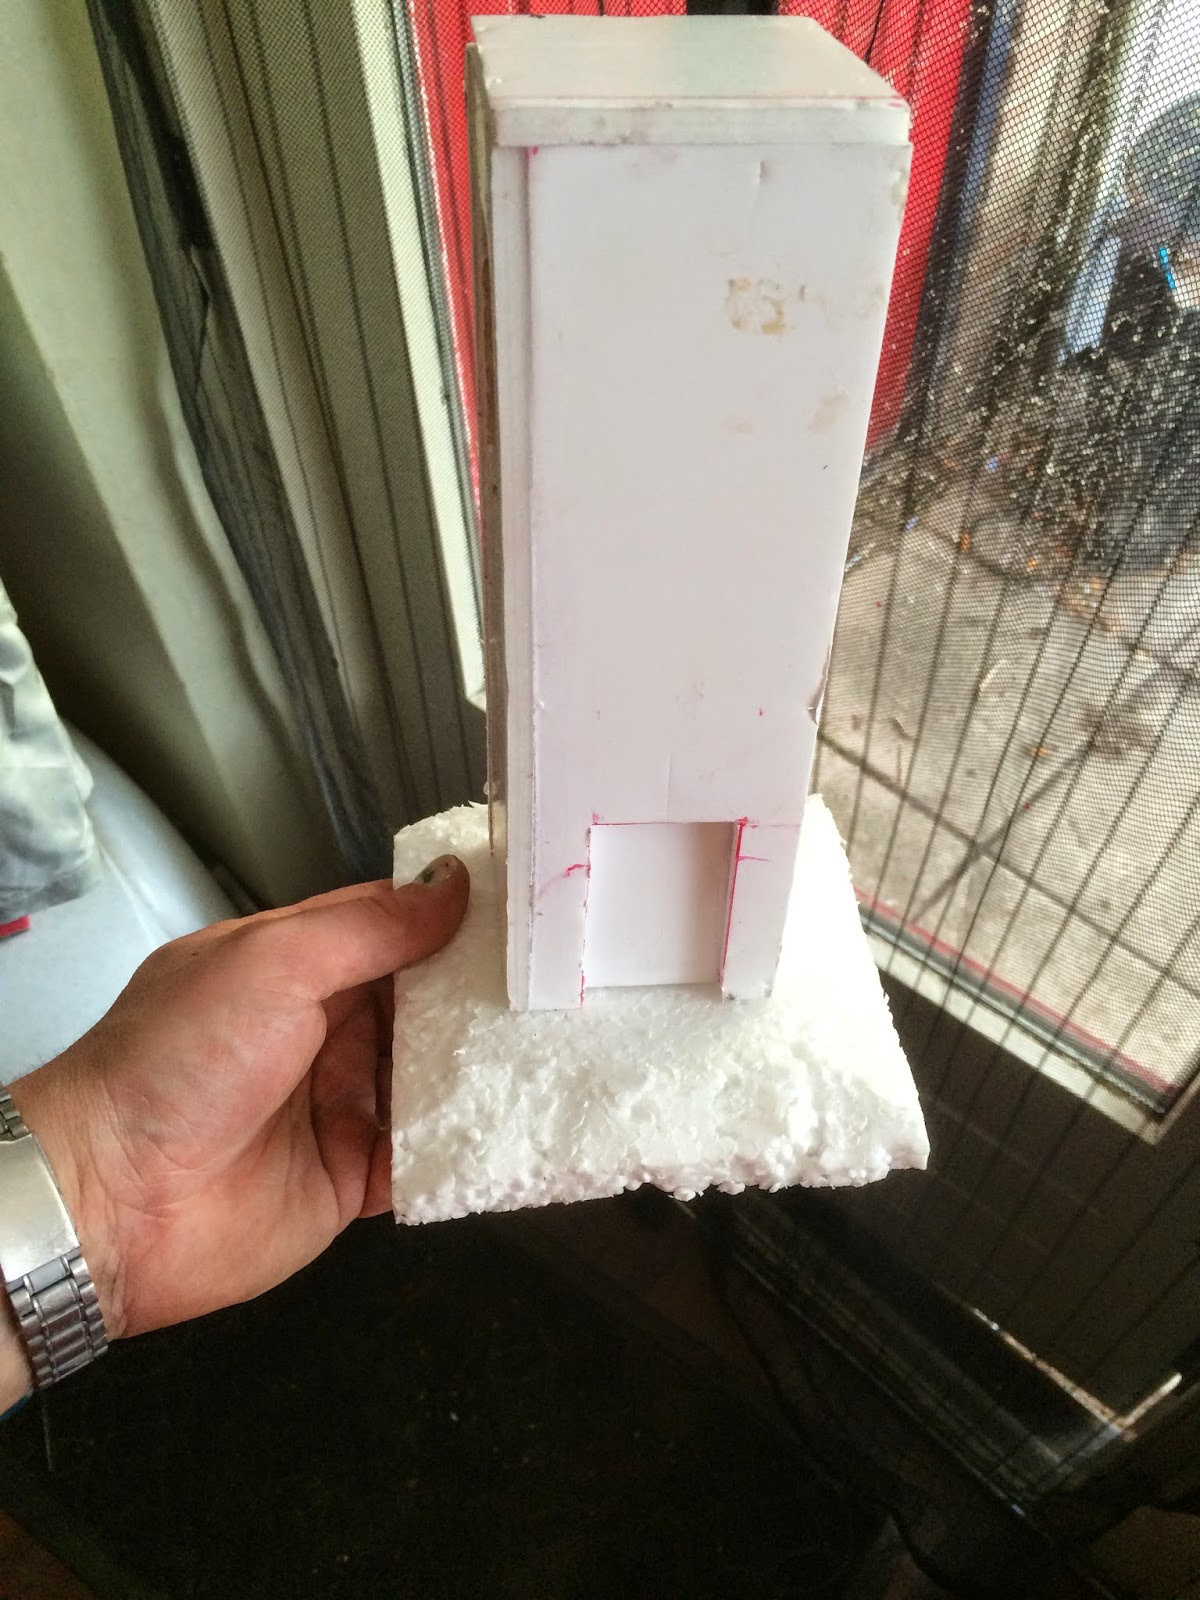
I then punched a few holes through the cans so I could create piping and left to dry. I now started building a control bulding with foamboard and and cut out a few windows which I filled with coffee sticks to create vent windows.


in the back of the second picture you can see that I created the piping using drinking straws and bending then in a pipe like manner (again I used google as inspiration for this)
I also created onramps by cutting the styrofoam (always use a very sharp knife for that)
Then I created a staircase for the tanks by using my favourite material coffee sticks.

It doesn’t have to be completely straight it adds to the post apocalyptic effect.
Knowing styrofoam like I do and the way it sometimes behaves when painted I now created concrete parts using the cardboard from a corona package (It was summer and I was thirsty). Resulting in the following:

sorry the picture is a rotated XD
I save some garden dirt in a jar and leave it to dry and now I needed that. So I put glue on the styrofaom and then put on the dirt. followed by a layer of my wife’s hairspray to fixate it.

I based the control building and also put som dirt on that to.
Then I based it al with el cheapo matt black acrylic paint. I got the can for 2,99 Euro (action).

I now had a fully create tankstation including drying times this took me about a day to fix mainly because I used cheap glue which made the diagonals a challenge to glue.
In part 2 I will show you how I painted the tank station hope you enjoyed this.